Table of Contents
Luserna stone is a premium, hard-wearing natural material that builders prize for floors, wall claddings, treads and even entire façades. Yet how to lay stepping stones with this stone calls for care and the right techniques: by following each step correctly you achieve a finish that is both long-lasting and visually striking.
This comprehensive guide walks you through the process of how to lay stepping stones in different applications (from paving to vertical cladding), lists the recommended tools, highlights best practices for long-term stability and beauty, and points out common mistakes to avoid.
Recommended Tools for How to Lay Stepping Stones
- Rubber mallet: to tap the slabs into place without chipping them.
- Spirit level and plumb line: to check horizontal flatness and vertical alignment on walls.
- Angle grinder with diamond blade: for precise, safe cutting—always secure the piece on a stable base and work slowly.
- Trowel and notched spreader: to apply mortar or adhesive evenly.
- Cement mixer or mixing drill: for preparing cement mortars or premixed adhesives.
- Buckets, sponges and brushes: to clean surfaces and remove excess mortar or grout from joints.
- PPE (Personal Protective Equipment): gloves, safety goggles and a dust mask are essential for safe work.
- Plate compactor or hand tamper: useful for compacting the sub-base in outdoor paving and ensuring a stable foundation.
Outdoor Luserna Stone Paving: Step-by-Step Instructions
If you’re researching how to lay stepping stones, keep in mind that success starts with meticulous preparation to ensure a surface that remains stable and attractive for years.
Follow these steps:
- Excavation and sub-base preparation:
Mark out the area and excavate the soil to the required depth (about 15–20 cm, depending on slab thickness). Thoroughly compact the exposed ground. - Bedding layer:
Spread a few centimetres of free-draining material (coarse gravel) over the sub-base, then add 5–10 cm of coarse sand. Level the sand carefully to create a perfectly even bedding plane.

- Laying the stone:
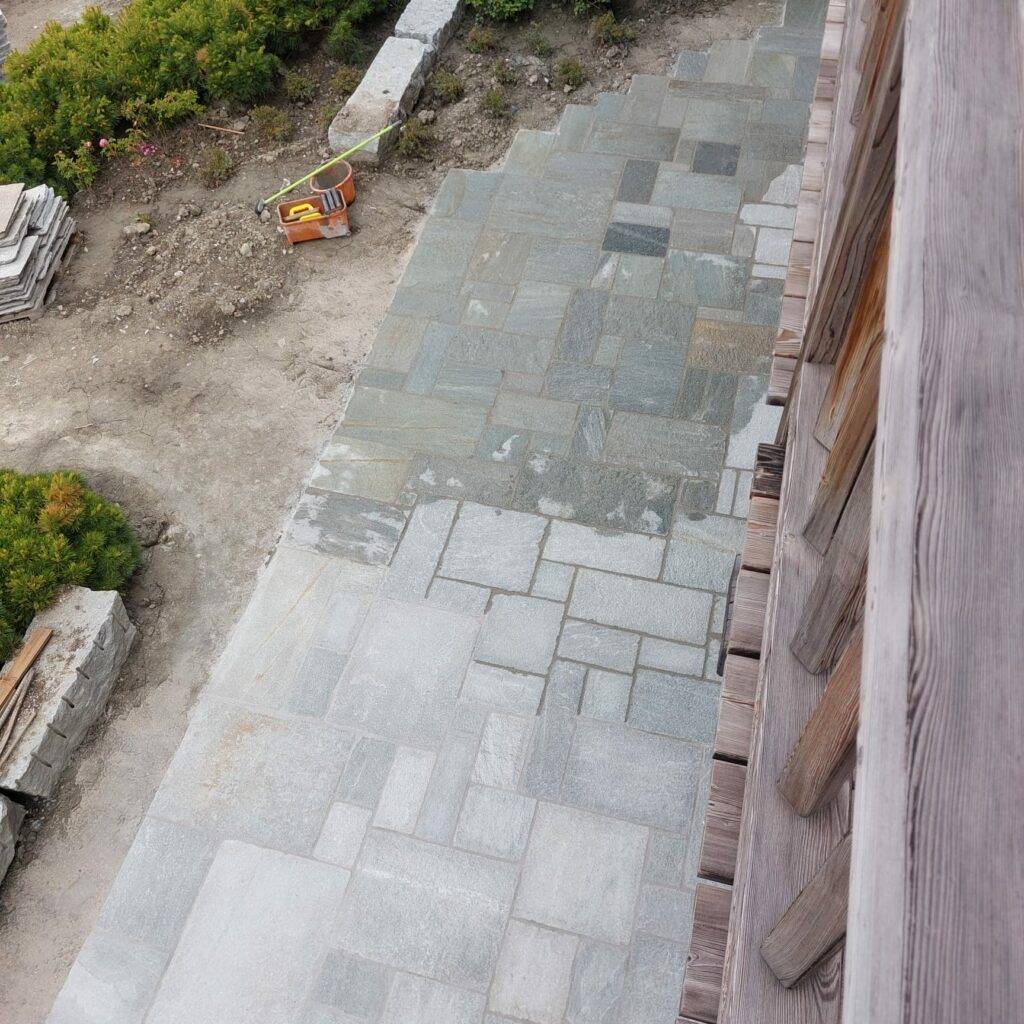
When you understand how to lay stepping stones with Luserna stone, the key moment is placing each piece on the prepared sand bed.
Position the slabs according to your planned pattern. If you are working with irregular pieces, fit their natural edges together; for regular setts or tiles, keep joints even (about 1–2 cm). Check every stone with a spirit level as you go. - Tamping and levelling:
After placement, gently tap each stone with the rubber mallet so it beds into the sand and the surface becomes uniform.
Re-check levels, adding sand beneath low stones or removing a little from under high ones until the whole area is flat. - Filling the joints:
Sweep dry, fine sand across the paving, brushing repeatedly so it settles into the joints and locks the stones in place.
If you need extra bonding strength, mix a fluid cement slurry and pour it into the joints, wiping away any excess immediately with a damp sponge. - Final cleaning and curing:
Remove any leftover sand or mortar from the stone surface. If you used cement, allow the paving to cure for 24–48 hours, shielding it from rain or frost.
Once fully hardened, rinse the area—the Luserna stone paving is now ready for everyday use.
Luserna Stone External Cladding: Step-by-Step Instructions
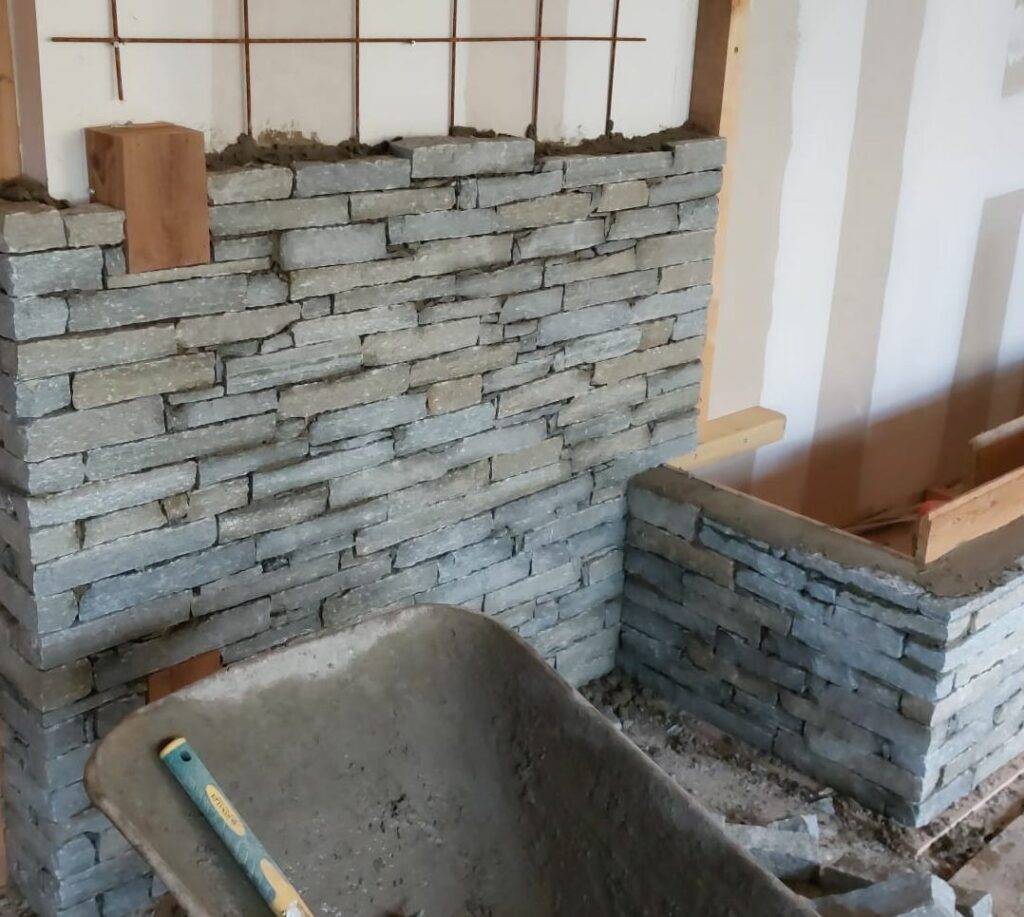
Installing Luserna stone on an exterior wall adds both character and robust protection to the building envelope. If you already know how to lay stepping stones on a solid, well-compacted bed, you’ll find that many of the same preparation principles apply to vertical work as well. Here’s the recommended procedure:
- Surface preparation:
Make sure the wall is sound, clean and suitably rough. Remove any paint, existing cladding or weak render, exposing the concrete or brickwork underneath. Dust off the surface thoroughly; if the substrate is very dry, lightly dampen it with clean water to enhance adhesion. - Choosing and mixing the adhesive:
Use a high-bond natural-stone mortar or a premium exterior-grade cement adhesive that is weather- and frost-resistant. Mix the product exactly as specified by the manufacturer until you obtain a smooth, lump-free consistency.
- Adhesive application:
Spread a coat of adhesive on the wall with a notched trowel and “back-butter” the rear of every stone slab.
This double-buttering method gives full coverage and grip—exactly the kind of contact you look for when learning how to lay stepping stones on a garden path.
Work on small sections at a time so the adhesive doesn’t skin over before the stone is set. - Laying the stones:
Start from the corners and the foot of the wall, then move upward. Press each slab firmly into the bed, tapping lightly with a rubber mallet if needed.
Maintain consistent joint widths (use spacers where specified) and keep a level on hand to check vertical and horizontal alignment as you go. - Cuts and special pieces:
Where full slabs won’t fit, measure the gap and cut the stone with a diamond grinder. Dress any exposed edges (a light chamfer removes sharpness) for a neat finish. - Joint grouting:
Once all slabs are set and the adhesive has begun to cure (about 24 h), fill the joints with an exterior-grade grout (cement- or resin-based, colour-matched to the stone).
Apply with a pointing trowel or grout bag, making sure every void is packed tight. - Final cleaning:
Before the grout hardens, wipe the stone faces with a damp sponge to remove residue. When everything is dry, brush the cladding with a soft broom.
Consider a breathable stone sealer to enhance colour and shield the surface from weathering.
N.B. For large façades or oversized slabs, add certified mechanical anchors (clips or screws into the structure) as extra security—especially near the top of the elevation.
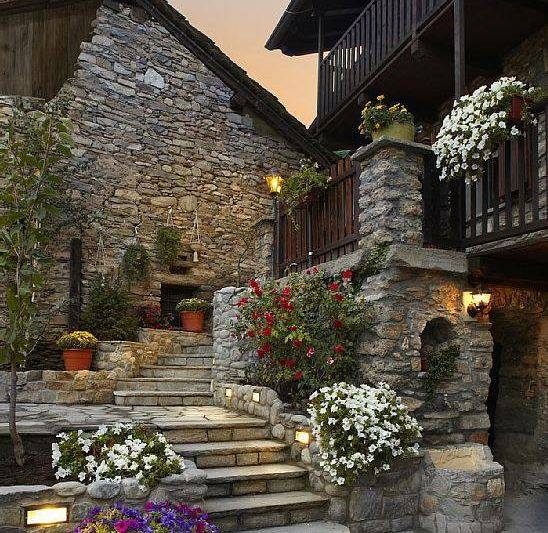
Luserna-Stone Stair Treads: Installation Guide
- Prepare the structure:
Ensure the rough concrete or masonry stair is clean, sound and level.
Chip or prime slick concrete to improve adhesion. - Install the riser:
Butter both the back of the riser slab and the vertical face of the step with adhesive, then press the stone into place.
Leave a small top gap for the tread joint if specified. - Install the tread:
Coat the horizontal step surface and the underside of the tread slab.
Set the slab so its front edge meets or slightly overhangs the riser. Tap with a rubber mallet and check level—outdoors, slope 1–2 % forward for drainage. - Repeat and align:
Work upward one step at a time, constantly checking that all risers are equal in height and all treads line up in depth.
Use spacers for uniform joints. - Finish the joints:
After initial set, fill the tread-to-riser joint with exterior grout or flexible sealant (ideal for outdoor movement). Tool smooth. - Clean and cure:
Remove stray adhesive or grout immediately; then let the stairs cure at least 24 h before use.
For exterior flights, verify slip resistance—flamed or bush-hammered finishes give a secure grip, or add an anti-slip treatment.
Extra Tips for Full Façades
- Panel planning: Divide the elevation into logical panels aligned with openings for a balanced pattern.
- Safety anchors: Install certified mechanical fixings at regular centres on heights over a few metres.
- Movement joints: Introduce vertical and horizontal expansion joints every 3–4 m and fill with elastomeric sealant.
- Waterproofing: Behind the stone, apply a breathable membrane; seal window and door perimeters carefully.
- Scaffolding & PPE: Use stable scaffolds and follow all site-safety rules—never rush adhesive cure times on large surfaces.
Best Practices for Longevity, Stability & Aesthetics
- Perfect sub-base preparation to prevent future settlement.
- High-quality setting materials rated for natural stone and frost resistance.
- Technique matched to product—thick irregular slabs need fresh mortar beds, calibrated tiles suit thin-set adhesive.
- Constant level checks to avoid dips and misalignments on large planes.
- Slope and drainage: always grade exterior surfaces 1–2 % to shed water.
- Well-filled joints to eliminate air pockets and strengthen the assembly.
- Final clean & breathable sealer to protect colour and ease maintenance.
Common Mistakes to Avoid When Installing Luserna Stone
- Under-compacted or thin sub-bases.
- Using generic, non-stone adhesives (risk of poor bond and staining).
- Bonding to dirty, painted or damp substrates.
- Ignoring slope and drainage outdoors.
- Skipping movement joints on large continuous areas.
- Hitting stone directly with metal hammers.
- Letting mortar or adhesive dry on the face before cleaning.
- Installing under extreme temperatures without protection.
Follow these guidelines and you’ll transform every project with the unmistakable strength and beauty of Luserna stone—whether you’re cladding a villa façade, crafting durable treads or already know exactly how to lay stepping stones in the surrounding landscape.
Looking for inspiration? Browse our full range of Luserna stone products and discover the perfect pieces for your next project.
Articles that might interest you
Stone Texture: All Luserna Stone Finish Ultimate Guide 2025
Explore every stone texture of Luserna stone—polished, flamed, brushed, honed and natural. Which finish best suits your project? Find out in our final guide.
Installing Luserna Stone: A Comprehensive Guide for Floors, Cladding, Stairs, and Facades
Installing Luserna Stone: a comprehensive guide with step-by-step instructions, tool recommendations, and proven methods for a stable, long-lasting, and elegant result.
Stone Cladding External Walls Built to Last in Luserna Stone
Choose Luserna for stone cladding external walls that are elegant, durable and strong—enhancing façades, improving insulation and boosting your property value.


