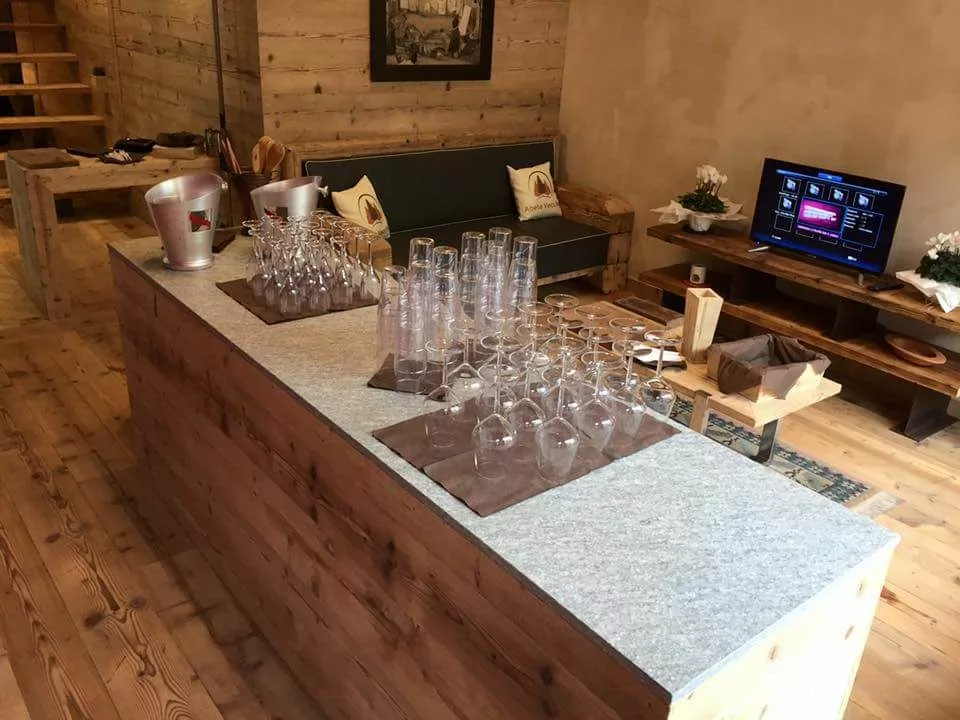
Stone Texture: All Luserna Stone Finish Ultimate Guide 2025
Explore every stone texture of Luserna stone—polished, flamed, brushed, honed and natural. Which finish best suits your project? Find out in our final guide.
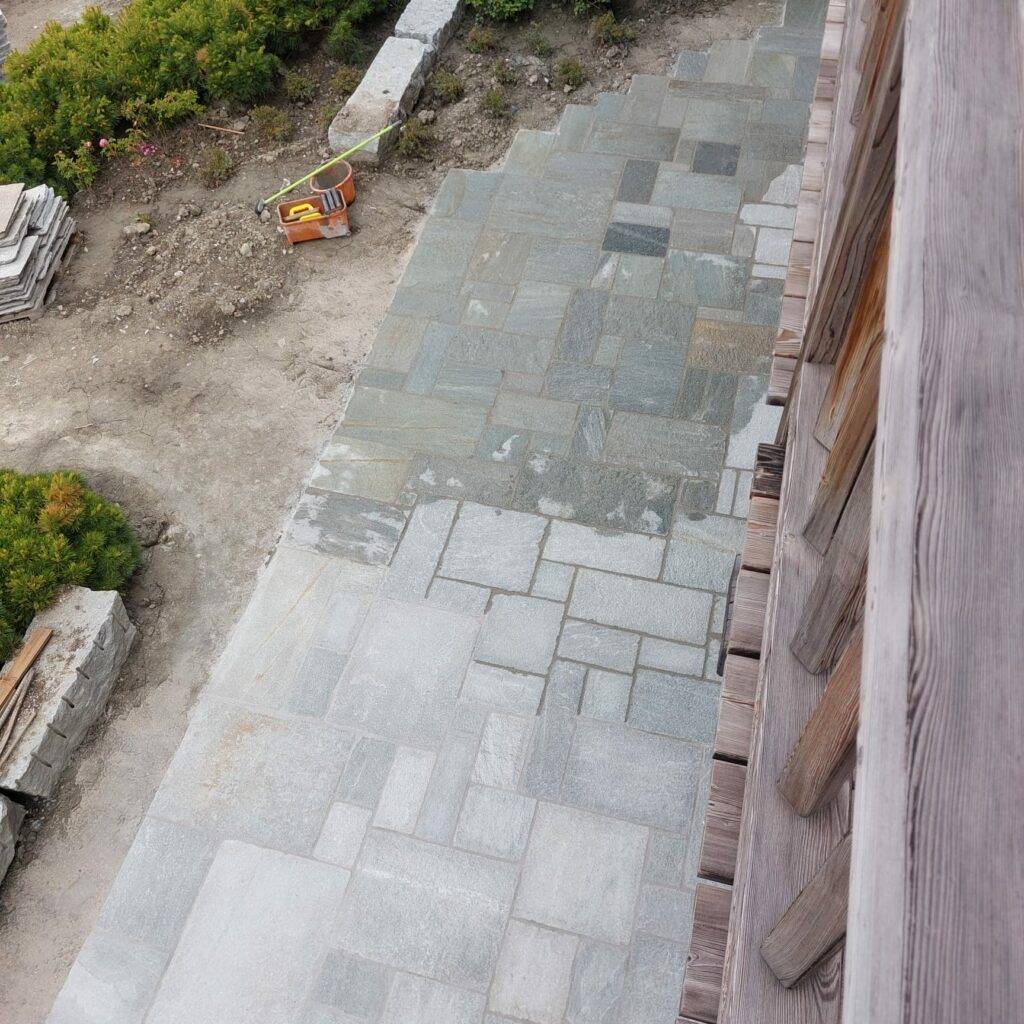
Installing Luserna Stone: A Comprehensive Guide for Floors, Cladding, Stairs, and Facades
Installing Luserna Stone: a comprehensive guide with step-by-step instructions, tool recommendations, and proven methods for a stable, long-lasting, and elegant result.
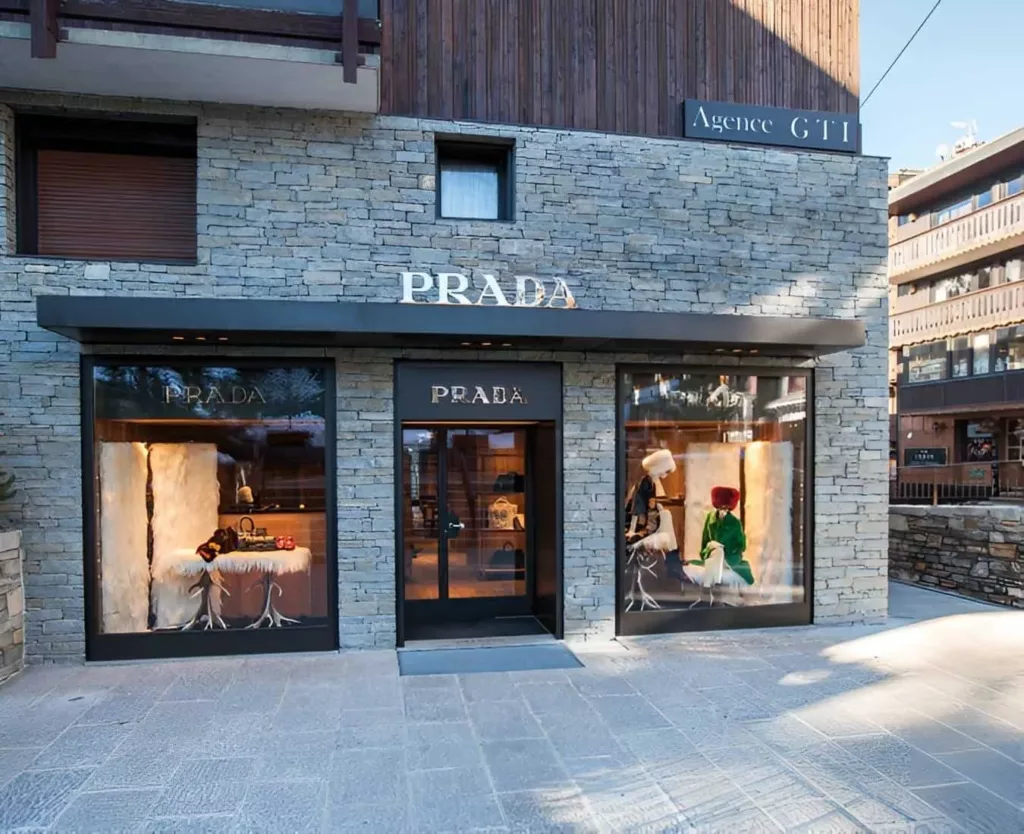
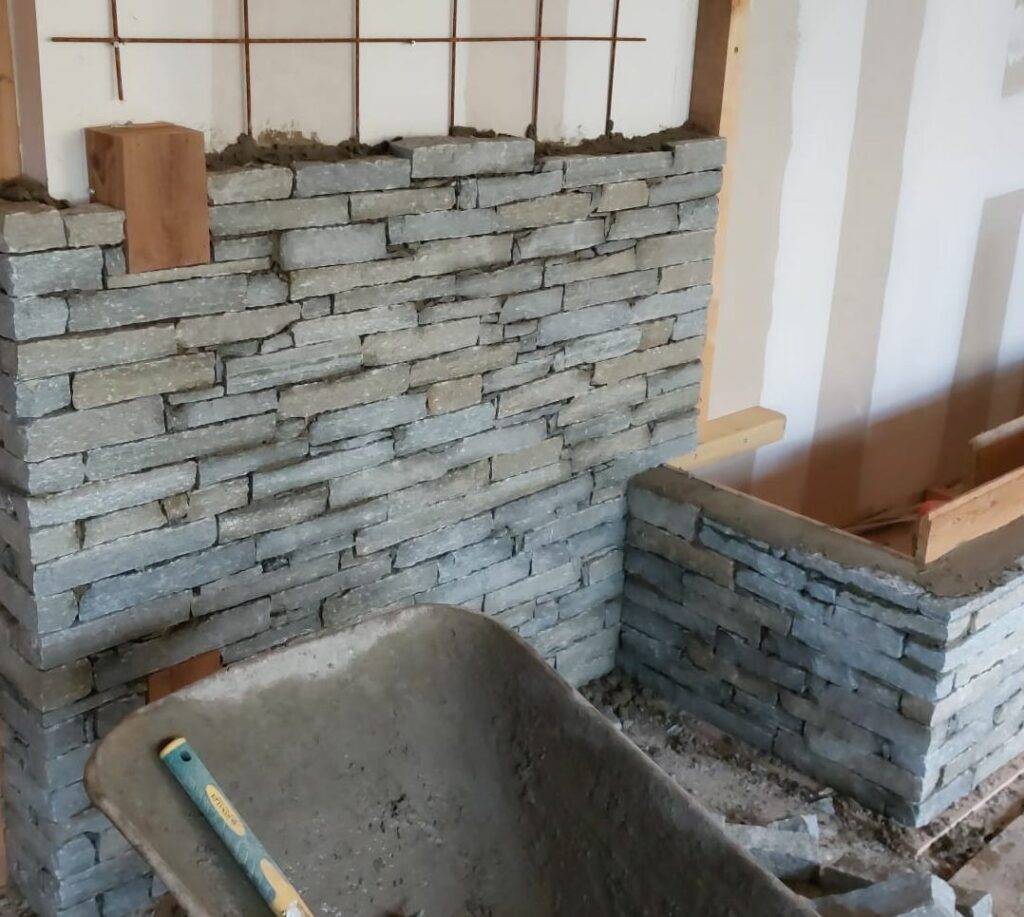
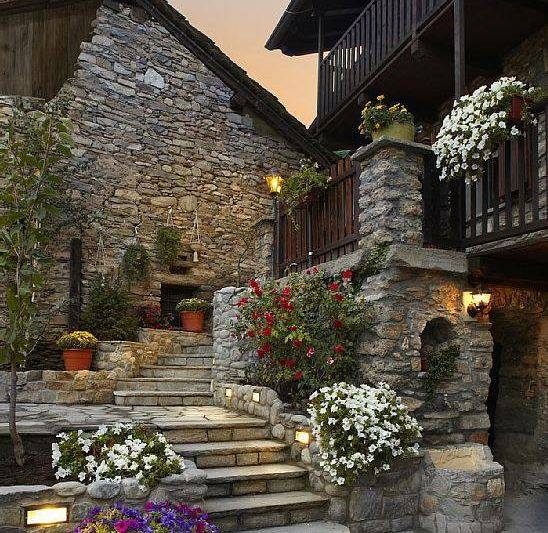
Stone Cladding External Walls Built to Last in Luserna Stone
Choose Luserna for stone cladding external walls that are elegant, durable and strong—enhancing façades, improving insulation and boosting your property value.